Prices and ratings checked October 18, 2026 on Amazon public listings; Amazon prices move often — the button always shows the live price.
Camera placement beats camera price. A $45 camera at the right height and angle
outperforms a $250 camera badly mounted. This page is the install manual we wish every box
included: where cameras go, how high, what angle, and the order that gets a wireless system live
in an afternoon.
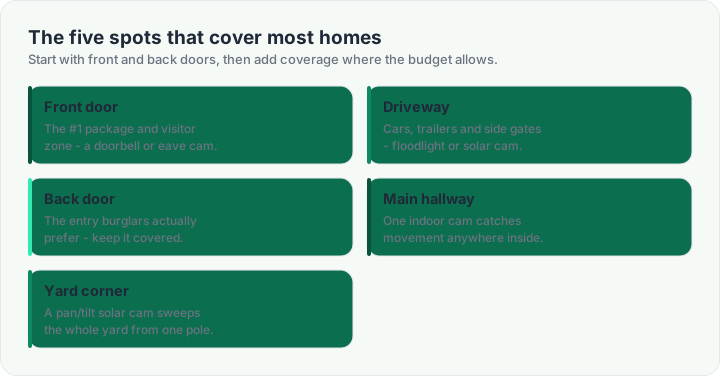
The five spots that cover most homes
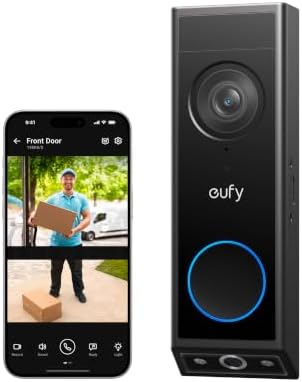
Start with the front door - the one spot every visitor and every package crosses. A
doorbell or an eave-mounted camera at 8-10 feet covers it. Second: the driveway, where
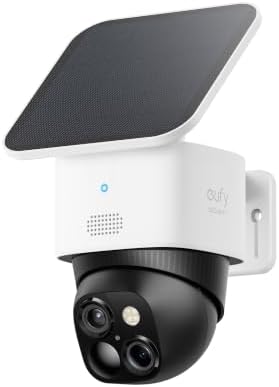
vehicles and side gates live - a floodlight or solar camera handles it. Third: the back door,
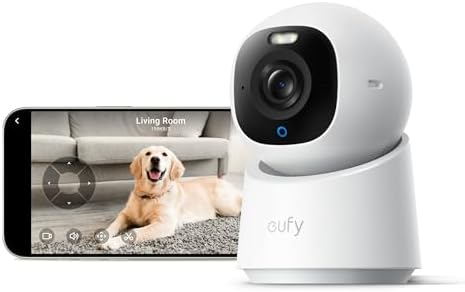
statistically the entry burglars prefer. Fourth: one indoor hallway camera, which sees
movement from every other room. Fifth, if the budget stretches: a yard corner pan/tilt
camera, which sweeps what three fixed cameras would miss.
Heights and angles that actually work
Mount outdoor cameras 8-10 feet up: above head reach, close enough to catch a face at 15-30
degrees of downward tilt. Too high (second-story eaves) and you record hats; too low and the
camera becomes a target. Avoid pointing at sunrise and sunset paths - backlighting whites out
faces - and mind neighbor property; pointing into it is both rude and, in some states, legally messy.
Indoors, eye-level shelves beat ceiling corners: a lens at 4.5-5.5 feet sees faces instead of
hair-partings. Keep the lens out of direct window backlight, and prefer corners that see two walls
of the room plus the door.
The 20-minute wireless install
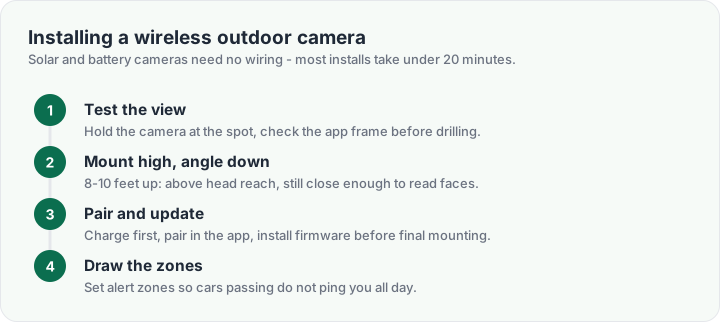
Charge the camera fully first. Pair it in the app while standing next to your router, install
firmware updates, then carry it to the mount point and check the live view before drilling -
signal bars and framing both. Mark the holes with the included template, drill, mount, angle down
15-30 degrees, then draw motion zones in the app so passing cars do not ping you all week.